
A well-planned garden layout transforms outdoor space into a relaxing, beautiful retreat or a productive haven for flowers and food. A good plan saves time, money, and future headaches. I’ve spent years learning what works—paying close attention to sunlight, soil, convenience, style, and the general vibe. Whether you’re dreaming of a cottage garden overflowing with blooms or a clever little veggie patch, starting with a plan really smooths the way. Let’s check out everything I’ve picked up to help you pin down your own outdoor garden layout, step by step.
Understanding Your Garden’s Microclimate
Every outdoor space is unique—even neighbours can have slightly different conditions. When I’m mapping a garden, I begin with the basics: how much sun different spots get, which areas get blasted by wind, and whether parts stay soggy or dry up fast. In the UK, the weather is usually mild, but north versus south-facing gardens can be worlds apart. South-facing beds bask in sunlight all day—perfect for tomatoes and sunflowers—while north-facing plots stay cooler and shadier, which is good for ferns or hostas.
Here’s a tip: spend a few days watching your plot at different times. Notice where the sun falls in morning and afternoon, where water pools after rain, and if anything shelters the space from wind. Use this info to zone your garden. Group sun-loving plants together, and tuck shade lovers in those cooler corners.
Drawing Up a Scaled Site Plan
A rough sketch seen from above makes a huge difference. Grab some graph paper or try a free digital tool like Shoot’s Garden Planner or Gardena’s Online Garden Planner. Start by drawing your garden boundaries, house walls, and any fixed features like mature trees, patios, drainpipes, or sheds. Make sure to mark anything you can’t or don’t want to move. Drawing to scale means you’ll avoid overcrowding and can plan paths and beds that are realistic.
When I first moved into my current place, I measured every edge with a tape measure. It seemed a bit nerdy, but it totally paid off. My patio and lawn actually matched my plan, and I didn’t have to move anything later.
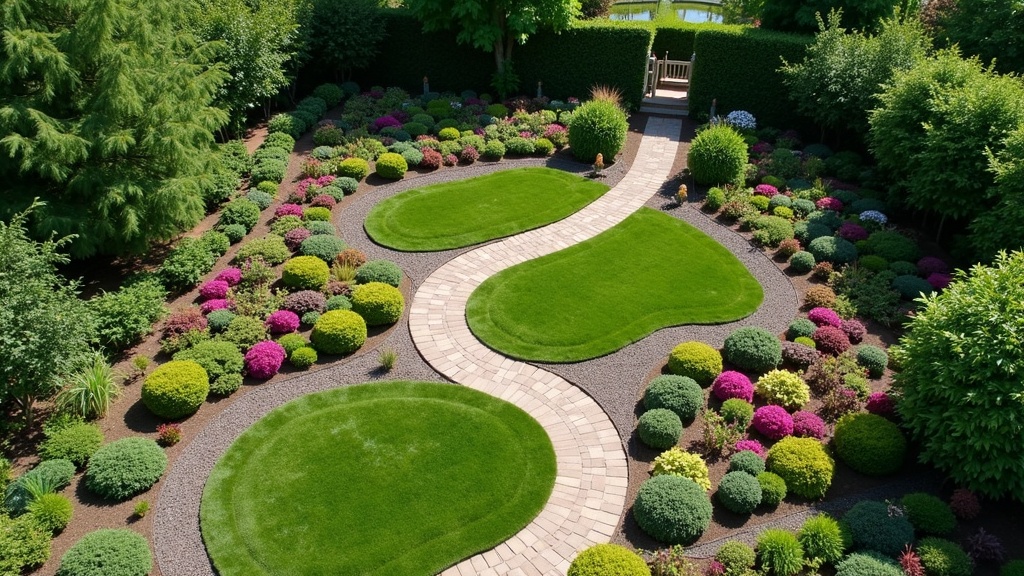
Designing Functional Zones
Breaking your space into “zones” helps you avoid a muddled, confusing layout. I like thinking in layers and uses:
- Entertaining: Patios, decks, or an outdoor kitchen. These usually go close to the house for easy food and drink runs.
- Relaxation: Hammocks, benches, or pergolas—maybe near a flower bed or pond. I always site these out of the usual winds, if possible.
- Productive: Veg beds, herb spirals, fruit canes. These need good access to sun and water.
- Kids & Pets: Lawns or play zones with softer edges and forgiving ground surfaces.
Don’t forget to mark walkways between zones. Paths can be gravel, paving, stepping stones, or even bark chips. Anything that guides the way and keeps your shoes clean will add to the usability. I always make sure wheelbarrows and mowers fit down at least one route, since a blocked path can easily ruin the fun!
Think ahead about the everyday flow: Where will people walk most? Where do pets run? Leaving enough space reduces trampling and makes your garden feel welcoming. Arches, gates, or hedging can subtly show where one zone ends and another begins.
Soil Testing and Getting Your Beds Ready
Knowing your soil saves pain in the long run. UK soils include chalky, sandy, loamy, and heavy clay—all act differently. Get a basic pH test kit from a garden centre and try a hand shovel to check how deep and sticky your earth is. I learned early that clay soil stays wet in winter and bakes solid in summer—root veg struggled with it. By working in plenty of compost and some horticultural grit, everything grows better now.
If your soil is acidic or alkaline, look for plants that work with your pH (rhododendrons for acidic, lavender for alkaline) or improve beds with organic stuff and mulch. Good prep up-front means less work and bigger harvests. Trust me: prepping the soil before planting saves countless headaches.
Working With Colour and Seasonal Structure
Keeping your garden interesting year-round keeps the space alive. I prefer starting with evergreen shrubs and small trees—things like box, yew, or pittosporum—so it never looks bare in winter. Then comes the fun: spring bulbs for early colour, perennials and annuals for summer, and shrubs for autumn berries or bright leaves. For flower beds, a colour wheel is handy. Grouping shades that go well together (like purple and yellow) adds a next-level cool vibe. For a calm look, stick to similar shades throughout.
Picture your garden in every season so there’s always something happening. Having some structure with evergreens or strong shapes means it never feels empty, even when bulbs or short-lived annuals vanish for months.
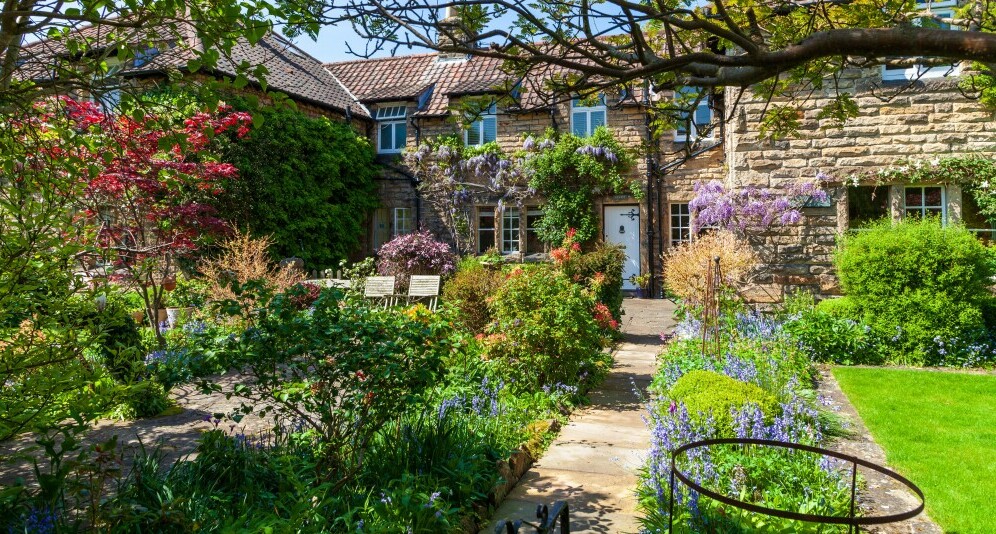
Matching Your Garden to Your Home’s Style
Tying your garden’s style into your house makes everything look put together. Old cottages look awesome with loose, billowy borders and old-brick paths, while modern homes shine with clean lines, big pavers, and sleek planters. I usually pick hard landscaping materials that either match or contrast nicely. Natural stone, porcelain, or weathered steel all have a place. Strolling your neighborhood for inspiration helps—you’ll spot combos that work right away.
Managing Water, Drainage, and Rainy Weather
Britain loves its rain, but dry spells can still hit. I always collect rainwater in large water butts; it’s cheaper and plants prefer it. If your garden gets soggy, you may need a French drain or a rain garden—a sunken bed filled with moisture-loving plants. To handle drought, mulch beds well, group thirsty plants together, and consider putting in a simple drip irrigation system.
Sort your drainage and watering system before planting to dodge soggy beds or parched borders when the weather flips. Tackling these jobs early frees you up to enjoy growing without the stress.
Laying Infrastructure: Take Care of This First
Handle the big projects before getting excited about planting. This might mean digging trenches for lights, putting pipes in for water features, or setting footings for pergolas, sheds, or greenhouses. Getting these jobs done up front protects roots and spares you from ripping up a beautiful lawn months later. For my own place, I sketched each main feature, sorted out all the “hidden stuff,” and planted afterwards. It was much less stressful that way!
Top Free Online Garden Layout Planners
Creating your garden layout online is simpler than ever, even on a tight budget. I’ve tried a few, and these are my go-to picks:
- Shoot Garden Planner: Best for the UK’s climate and native plants. The free version covers basics like beds and patios, and it’s very userfriendly.
- Gardena My Garden: Drag-and-drop setup for beds, paths, and sprinklers—handy if you want to test out irrigation before you commit.
Both tools let you try out shapes, sizes, and placements without moving a single shovel. So useful for experimenting before committing!
Picking Plants for Your Hardiness Zone
The UK generally sits in hardiness zones 7 to 9, but check a map for your spot—Cornwall isn’t the same as the Scottish Highlands. I stick with sturdy, reliable plants that suit my zone and do well whether it’s wet or a rare dry summer. Good native plants like foxgloves, primroses, or hawthorn bring in bees and birds, and that adds to your garden’s appeal.
Blending decorative and edible plants creates a space that looks great and tastes even better. Apple trees are always a hit—beautiful and productive for years.
Getting Proportion and Scale Right
Size matters for making things balanced. Smaller gardens look bigger with vertical features (climbing roses, trellises, tall planters). Larger spaces can handle dramatic elements like a statement tree or big piece of sculpture. When I design, I use the “rule of thirds”—dividing areas into thirds rather than halves keeps things lively. Don’t rush to symmetry: a bit of wonkiness keeps things organic, not stiff or overdesigned.
The Three Golden Rules of Garden Design
1. Know Your Space: Soil, light, wind, and size—get familiar so plants thrive where you put them.
2. Keep It Practical: Mix looks and function, with paths you can actually use, beds you can reach, and sturdy plants.
3. Plan for All Seasons: Layer evergreens, spring stars, summer bursts, and autumn colour for a garden that shines year-round.
FAQ: Your Garden Layout Planning Questions Answered
How can beginners plan a garden layout?
Start by observing your space: watch sun patterns, wind, and drainage. Draw a plan with hard features, then split areas by use—seating, veggie beds, or play spots. Test your soil and choose plants that match your conditions. Begin simple and let your garden grow with you.
What’s the best free garden layout planner?
I recommend Shoot’s Garden Planner and Gardena My Garden. Both are free, easy to use, and well-suited to UK gardens.
What are the three golden rules of garden design?
Get to know your outdoor space, keep things practical, and plan with every season in mind.
Can I design my own garden online for free?
You absolutely can. Free online planners let you try out ideas without lifting a spade, saving time and money before planting begins.
Careful planning speeds up the gardening process and leads to smoother results. Start with these practical basics for less hassle, happier plants, and an outdoor area you’ll truly love spending time in.